A proxy is like a middleman for your internet connection. Instead of your computer connecting directly to a website or service, the proxy makes the request for you and then sends the response back to your computer.
Using proxy settings for local testing is helpful because it allows you to control and manage how your computer connects to the internet. Here’s why it’s useful:
- Simulating Different Locations: A proxy can make it look like you’re accessing the internet from a different place. This is helpful if you’re testing how your website or app behaves in different regions or countries.
- Testing Network Conditions: A proxy can mimic slow or unreliable internet connections, which is great for testing how your website or app performs under less-than-ideal network conditions.
- Bypass Restrictions: Sometimes, websites or apps might block certain IP addresses or locations. Using a proxy allows you to “trick” the system into thinking you’re somewhere else, so you can bypass those restrictions and test as if you’re from another network or region.
- Debugging and Monitoring: If you’re testing locally, a proxy can capture and show the data being sent and received between your computer and the internet. This is helpful for debugging issues or tracking what’s happening with requests in your tests.
- Security Testing: Proxies act as intermediaries between your application and the server. You can use a proxy to simulate various types of attacks, such as cross-site scripting (XSS) or SQL injection, to test the security of your application and ensure that it can withstand these attacks.
You can use proxy settings to do manual or automated testing of your application. Let’s look at ways to find proxy settings on your computer.
What are Proxy Settings?
Proxy settings are like instructions that tell your computer or device how to use a proxy server when connecting to the internet. These settings determine where your internet traffic should go and how it should behave when going through the middleman (the proxy).
Here’s what comprises of the proxy settings:
- Address of the Proxy Server: This is like telling your computer the address of the middleman it should ask for help. It’s usually a web address or an IP address.
- Port Number: Just like a phone number has an area code, the proxy server uses a “port” to organize traffic. This tells your computer how to connect to the proxy.
- Authentication (Optional): Sometimes, the proxy might require a username and password to make sure only certain people or devices can use it. This is like giving your assistant a secret passcode.
How to Check Proxy Settings?
Find proxy settings on Windows
You can find proxy settings on your Windows computer in two ways.
Using the Control Panel
For those on the older versions of Windows or who prefer the Control Panel, try the following steps to get to your proxy settings. Note that these steps are for Windows 11 and will vary a bit for the lower Windows versions.
-
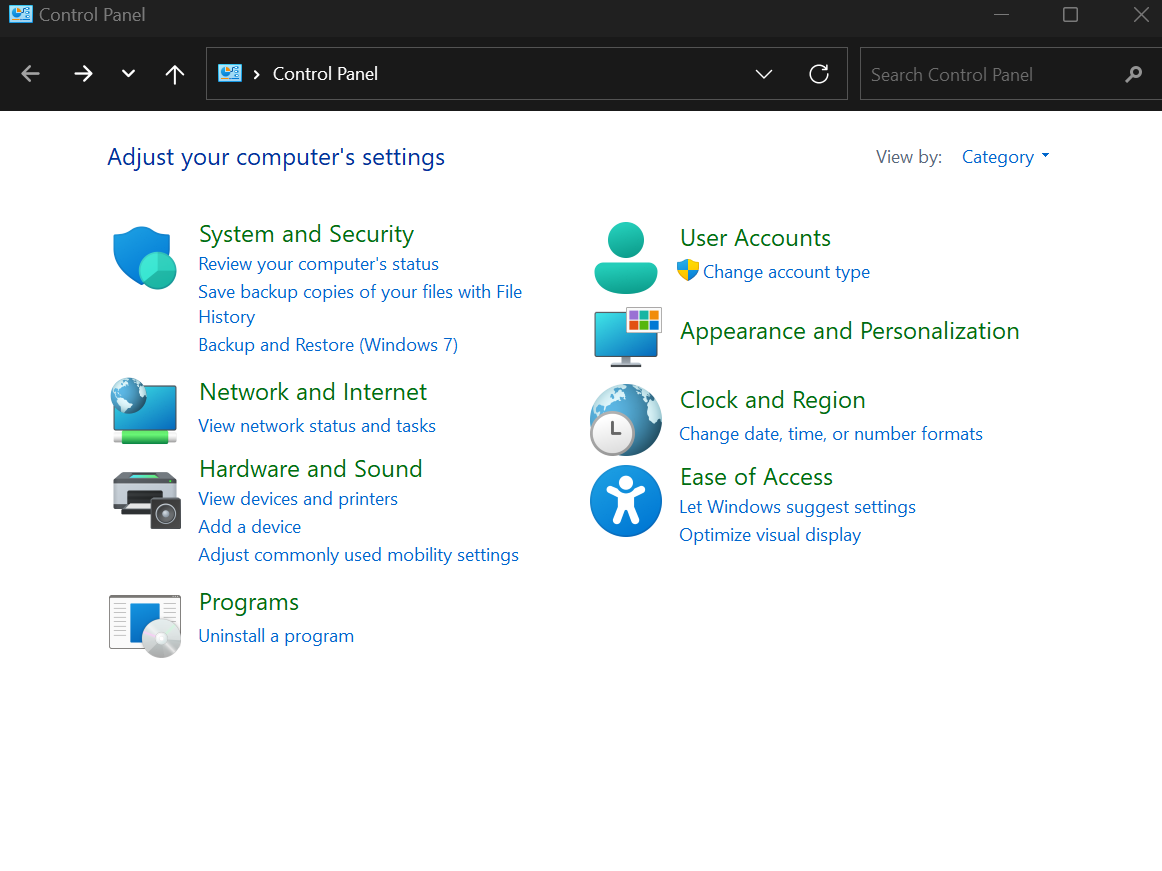
Open the Control Panel by searching for it in the Windows search bar.
-
If you are on Windows 11, your Control Panel will look something like what is shown in the image below. Click on Network and Internet.
-
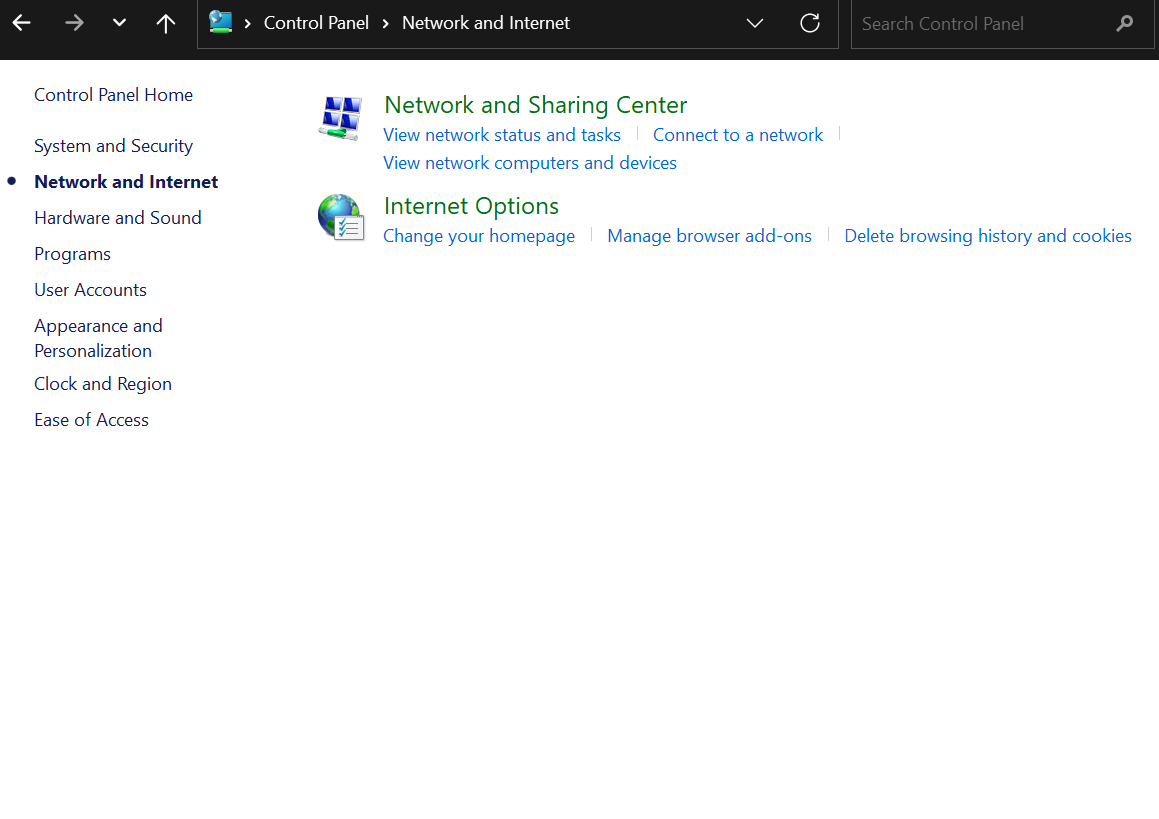
Now click on Internet Options.
 On other versions of Windows, the Control Panel will look like this. Go ahead and click on Internet Options and follow the rest of the steps.
-
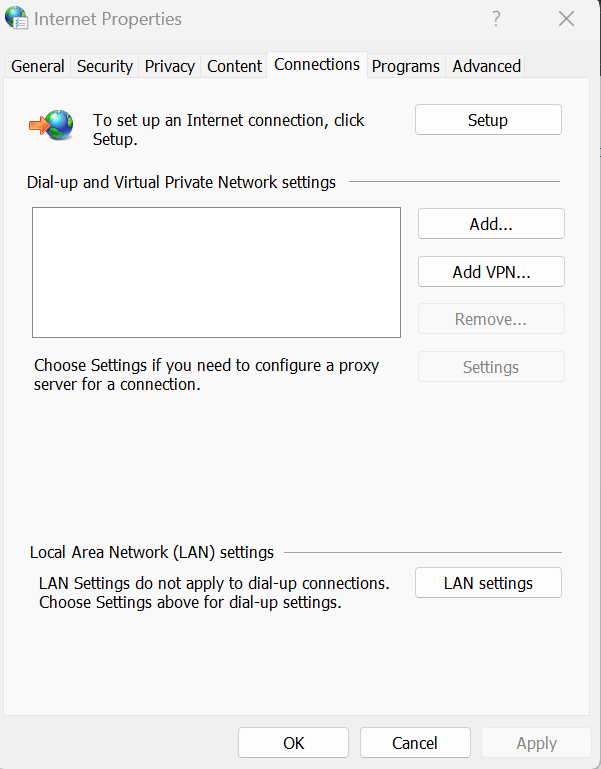
Once the Internet Properties dialog box appears, click on the Connections tab.
-
Look for the LAN Settings button at the bottom of this dialog box and click on it.

- You can find your proxy settings in the LAN Settings dialog box, including the proxy server address and port number.
Using Windows Settings (Only in Windows 10 and later versions)
- Click on Start, then go to Settings. Alternatively, you can open the Windows settings page by pressing ‘Win + I‘.
-
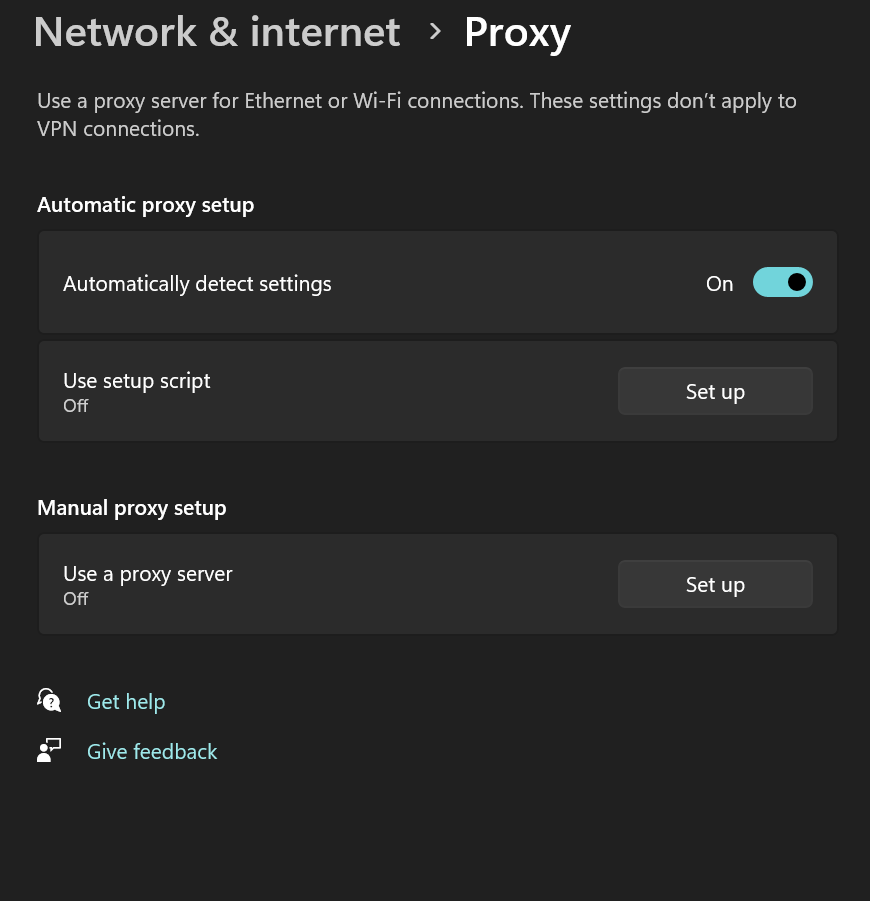
Click on Network and internet in the Settings menu. The below image shows the Windows 11 Settings page.

-
Here, look for Proxy and click on it to view and configure.
How to check proxy settings in Linux
Regarding Linux, the steps to finding your proxy settings vary depending on the distribution you are working on. Here is the general path to reaching these settings.
- On your Linux system, open Settings.
- Come to Network under the Hardware section.
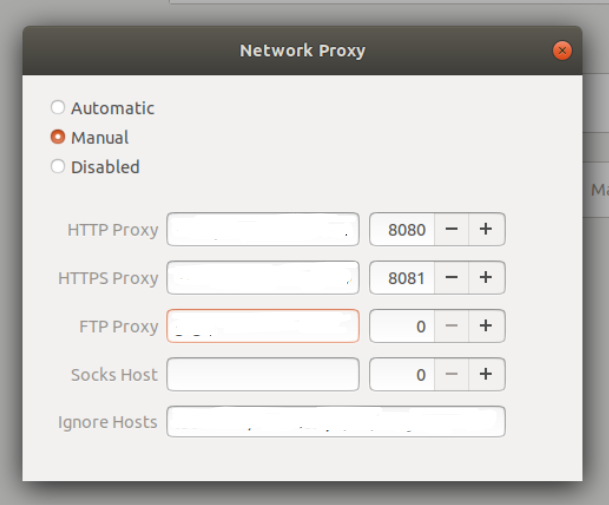
-
Click on Network Proxy and select either ‘Manual’ or ‘Automatic’ to view and configure your settings. The below image is of the Network Proxy section in Ubuntu 18.04.
Find proxy settings on Mac OS
If you are working on a Mac, you can find your proxy settings by following the steps below.
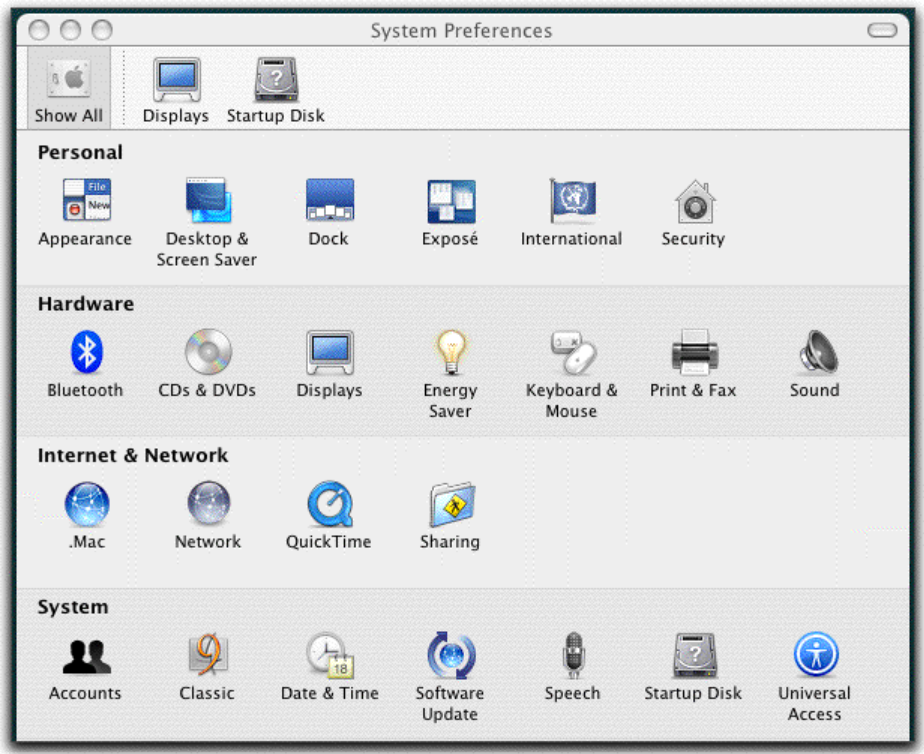
- Come to System Preferences by clicking on the Apple icon.
-
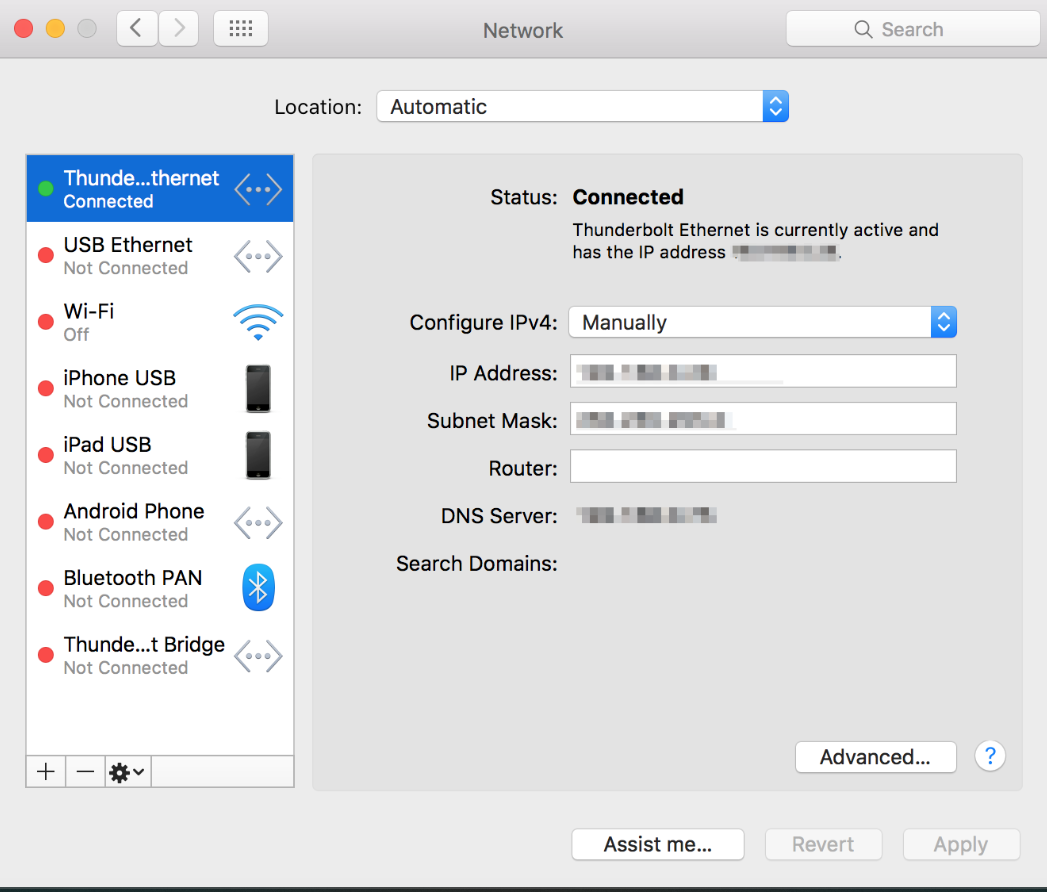
Now click on the Network option here.
-
Select your active network connection, usually Wi-Fi or Ethernet, and click on Advanced.
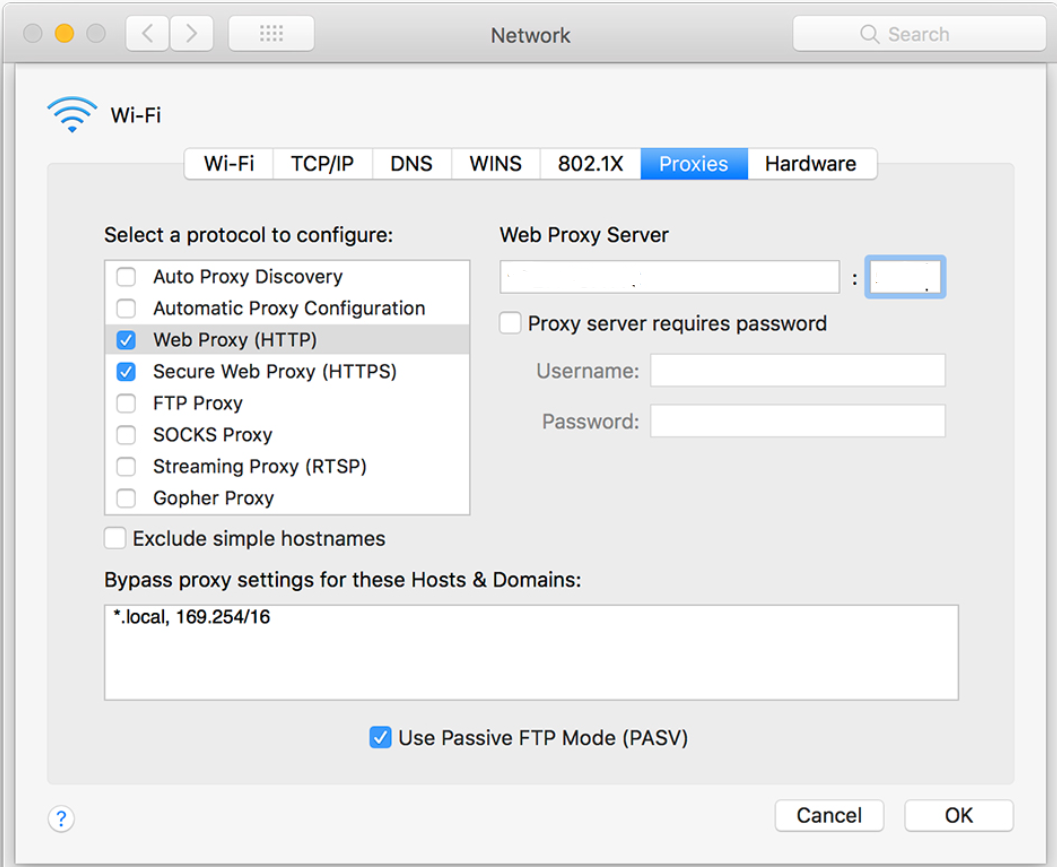
-
In the Proxies tab, you can configure and view proxy settings.
Conclusion
Proxy settings can be helpful for local testing when you need to control and manipulate network conditions, test proxy-dependent features, assess security vulnerabilities, and replicate various real-world scenarios to ensure your application or service performs as expected in different environments. When you configure these settings on your device, you’re essentially telling your computer how to route your internet traffic through the proxy. To get the most out of these testing activities, leverage an efficient mix of manual and automated testing to save effort, cost, and time.